Overview
Learn how to create a Dynamics NAV 2013 to 2018-SQL server data source with jet reports. We can create a data source type for Dynamics NAV 2013 to 2018 (SQL Server) in Jet Reports.
Creating a Jet Reports Connection to the NAV SQL Database
1) Inside Excel, navigate to the Jet ribbon and open your Data Source Settings.

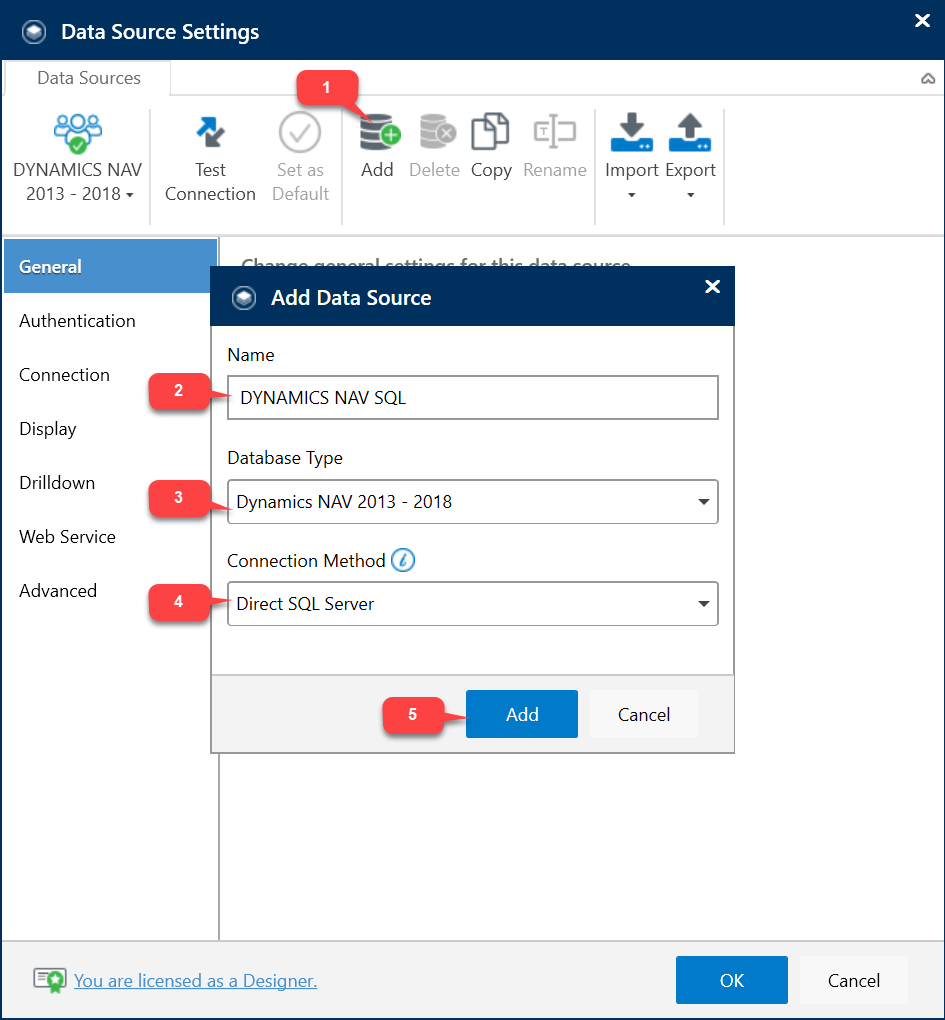
2) Click Add on the Data Source Settings tool bar.
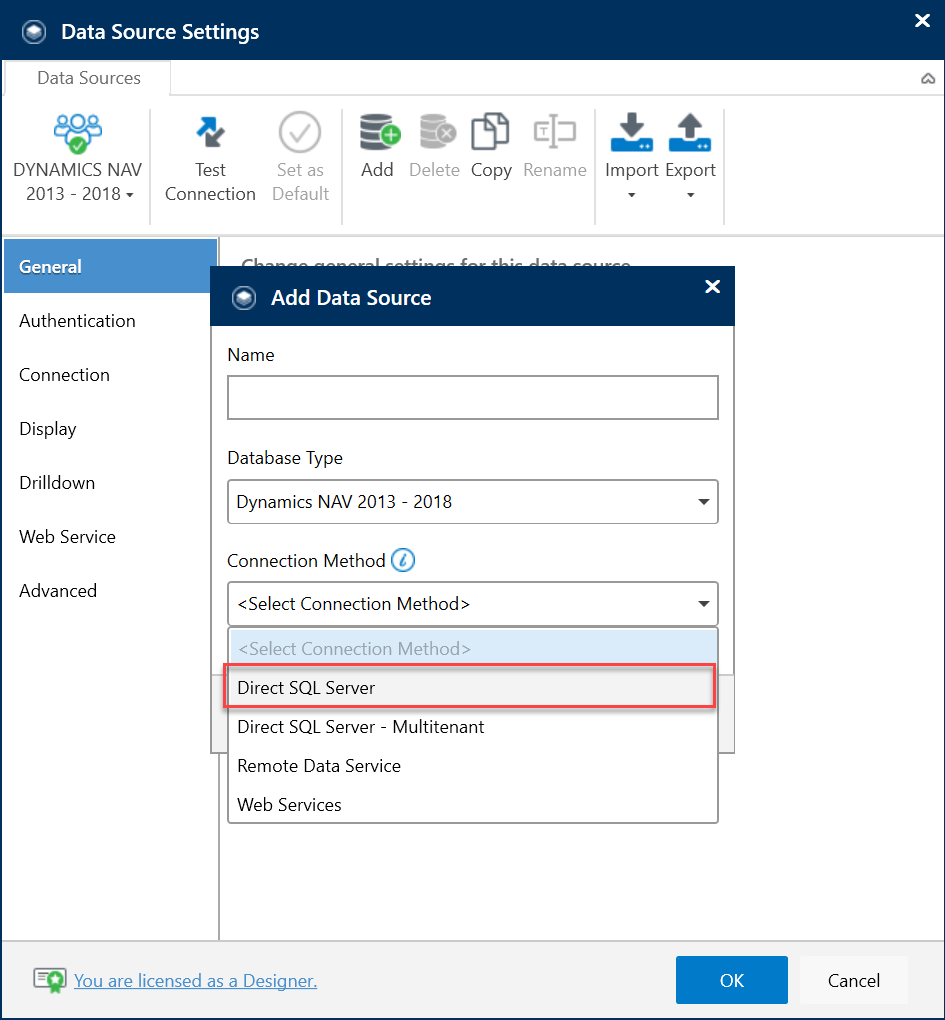
Provide your data source a unique and descriptive name within the Add Data Source dialog box. Choose Dynamics NAV 2013-2018 as the Database Type and Direct SQL Server from the Connection Method pull-down list.
Click the Add button.
3) On the Authentication tab…
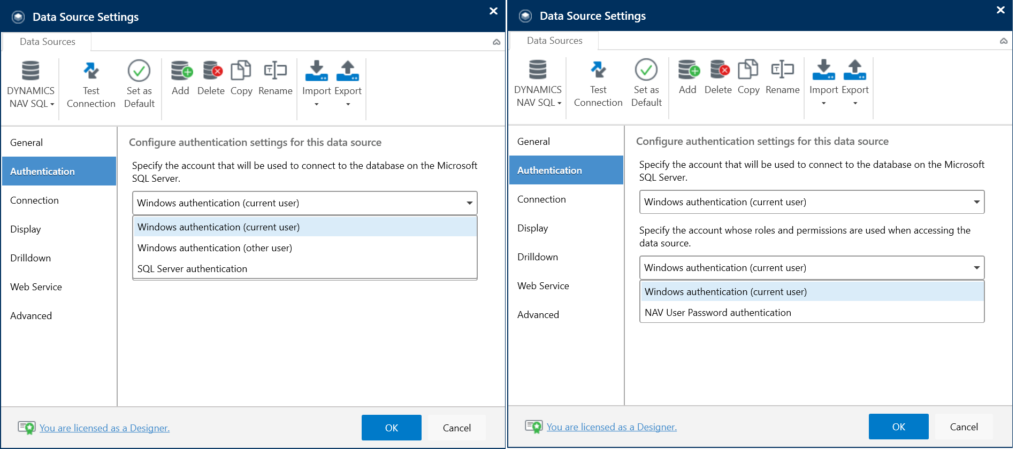
If your SQL Server is configured to automatically recognize the user names used to log on to Windows, you can use one of the “Windows Authentication” options (either the current Windows user or another Windows user).
👉 Join our Jet Reports Training and learn to create real-time, dynamic reports with confidence.
If your SQL Server is not configured to recognize Windows user names, you will need to choose SQL Server Authentication and provide the user name and password for an account that does have permissions to access the SQL Server. Please contact your system administrator to determine what information should be used.
Once you have specified how to access the SQL database, you will then want to specify which NAV user will be used when determining the roles and permissions used to access the NAV data. If your NAV system is configured to recognize the usernames used to log on to Windows, you can choose to use the current Windows users. Otherwise, Jet Reports also supports the use of NAV User Password authentication.
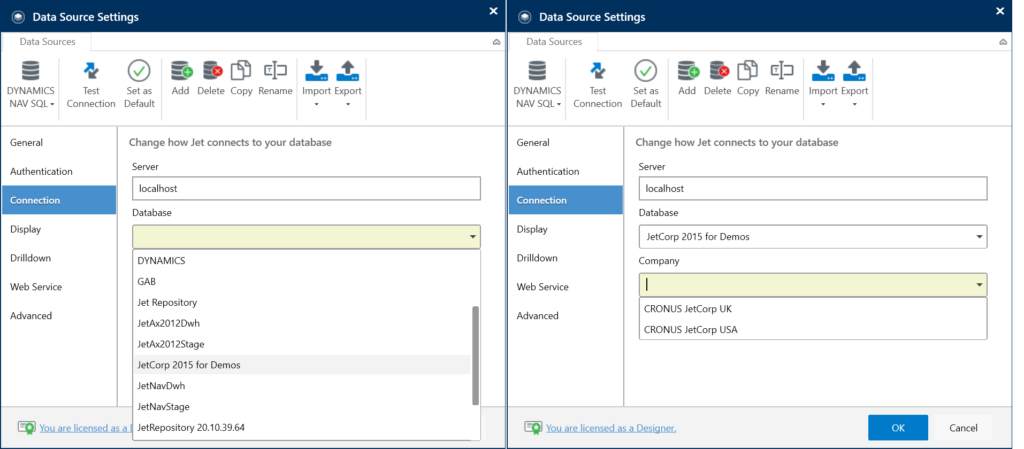
4) On the Connections tab…
You will need to provide the name or IP address of the SQL server where your NAV database resides. Select the specific BC database you want to use, and then select the company within that NAV database that you want to use by default (even if there is only one). The drop-down will show the names of available Databases and Companies in their respective options.
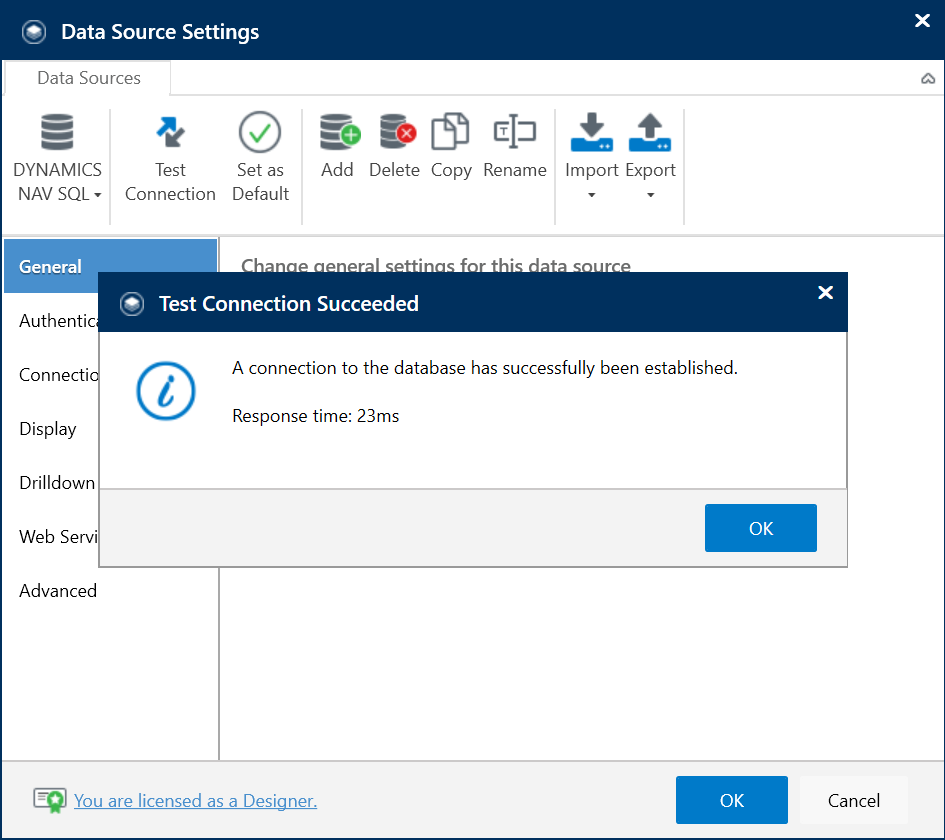
5) Click Test Connection to test your connection to the database.
6) If you want your NAV 2013-2018 data source to be your primary data source, click Set as Default.
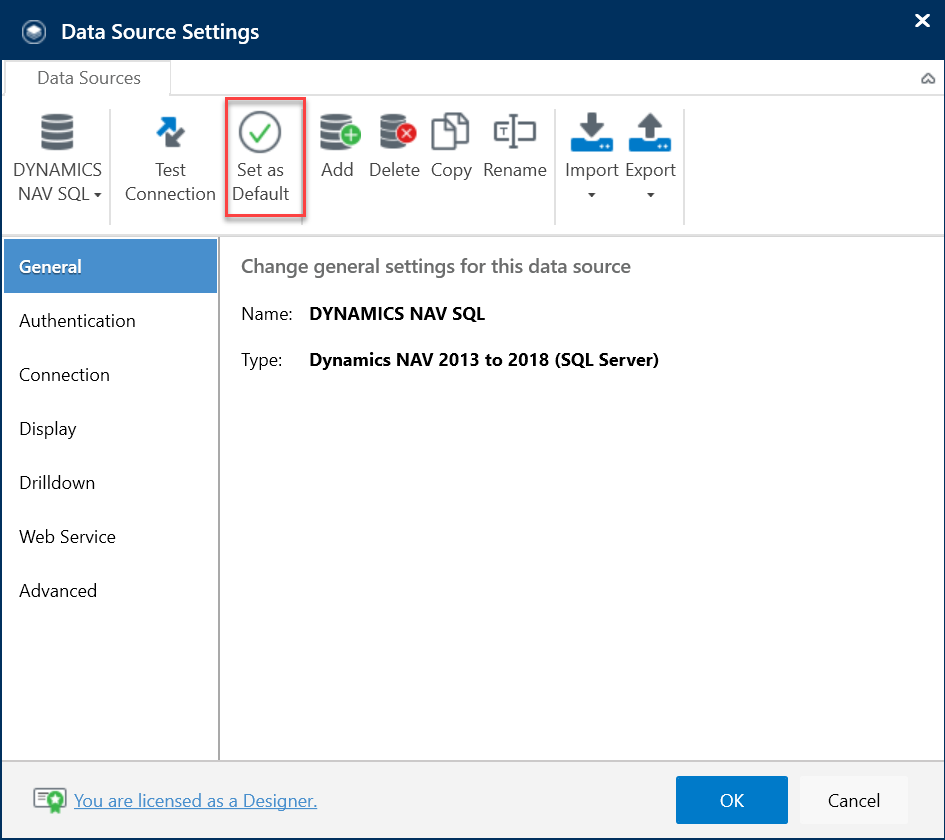
7) Click OK and your new Dynamics NAV 2013 to 2018 data source is ready to be used in Jet Reports.
If You Need Any Help, Contact Us Now!
[wpforms id=”13267″]


