Learn about Jet Analytics installation and configuration guide. This document will outline the steps necessary to download and install the Jet Data Manager. It will ensure that the Jet Data Manager Scheduler Service is up and running.
Download and Installation
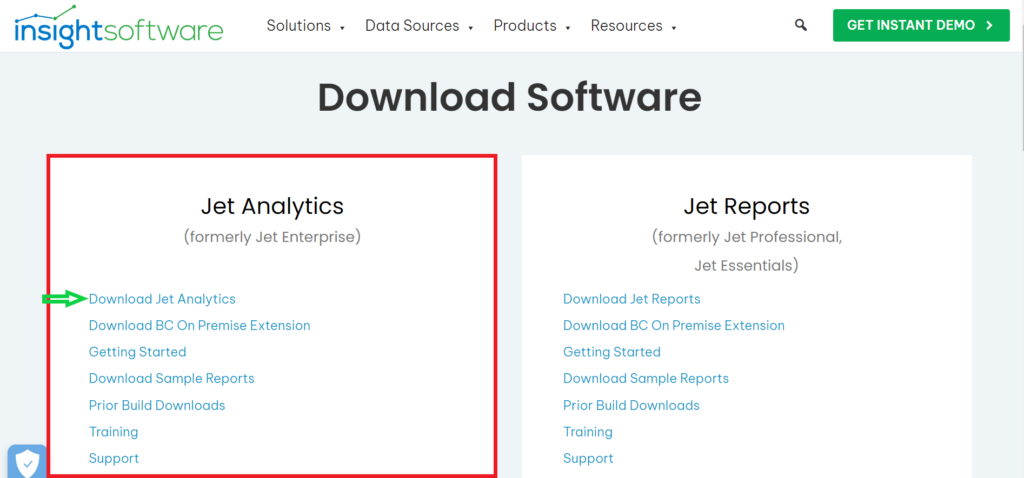
- At first follow the pre-installation checklist for Jet Data Manager. The latest version of the Jet Data Manager can be downloaded from insightsoftware download.
- Once the file has been downloaded, unzip the installation package, navigate through the files 1 – Jet Analytics – REQUIRED > 64 bit – Jet Data Manager Server and run the Jet Analytics Setup.exe file.
- Read and scroll to the bottom of the EULA and check the box indicating you have read and agreed.

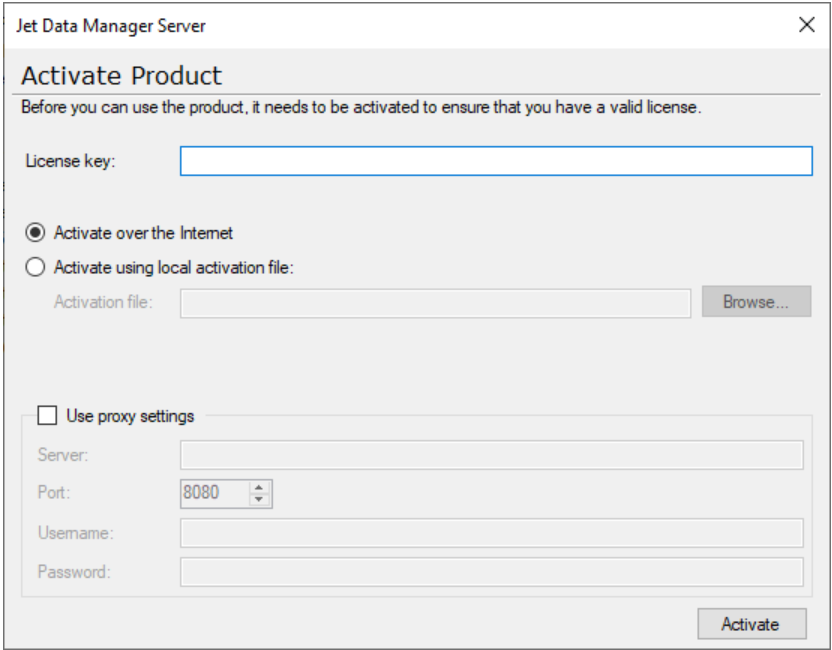
- Once the installation has completed, search “Jet Data Manager” in your search bar and open it. A window will open which will prompt the user for an Activation Code. Enter your license key and click Activate to activate your product.
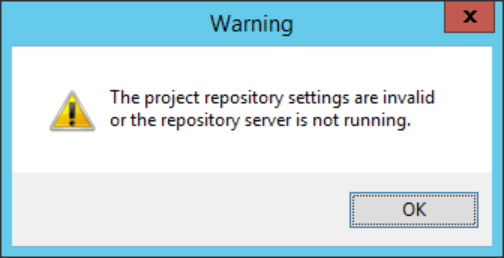
- You might receive a warning message that the project repository settings are invalid.
- On the next screen, type in the Server name where your current project repository resides. Select the authentication method and then create a Database as a project repository if not created already. Click OK.

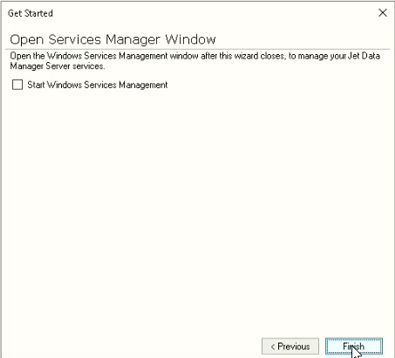
On the next window click Finish.
👉 Join our Jet Analytics Training and master building data warehouses, cubes, and advanced dashboards.
Jet Data Manager Scheduler Service
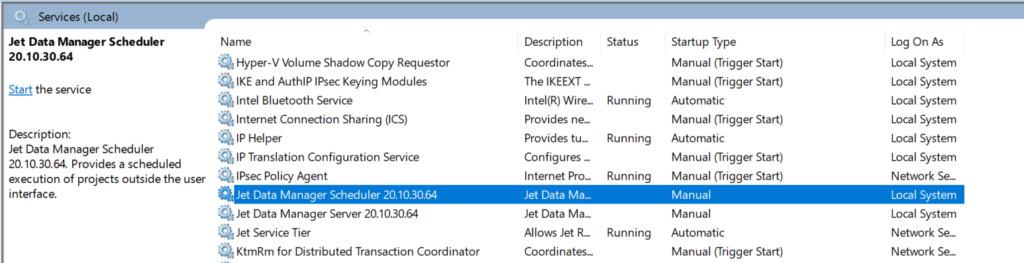
During Jet Analytics installation of Jet Data Manager, a new service is installed on the local machine that controls the execution packages. You will need to configure this service to start automatically. To configure the service, open the Services window for the server. This is generally accessed using the Start menu by typing Services in the search bar and selecting Services from the list that is returned.
- Right click the Jet Data Manager Scheduler service and select Properties.
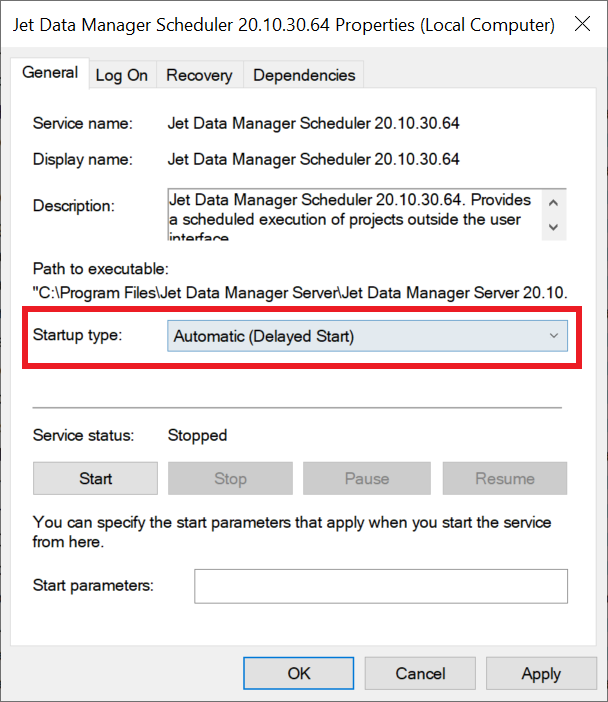
- On the General tab, the Startup Type should be set to Automatic (Delayed Start). If this is not available due to older versions of Windows Server, then Automatic should be selected.
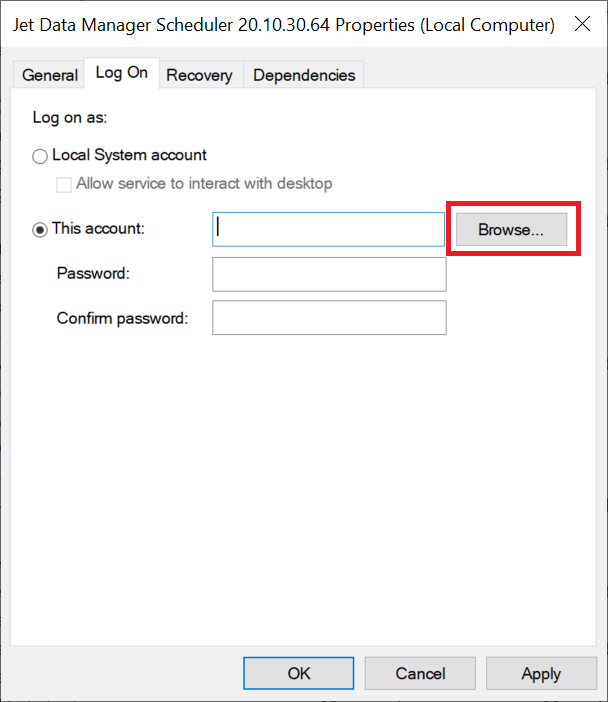
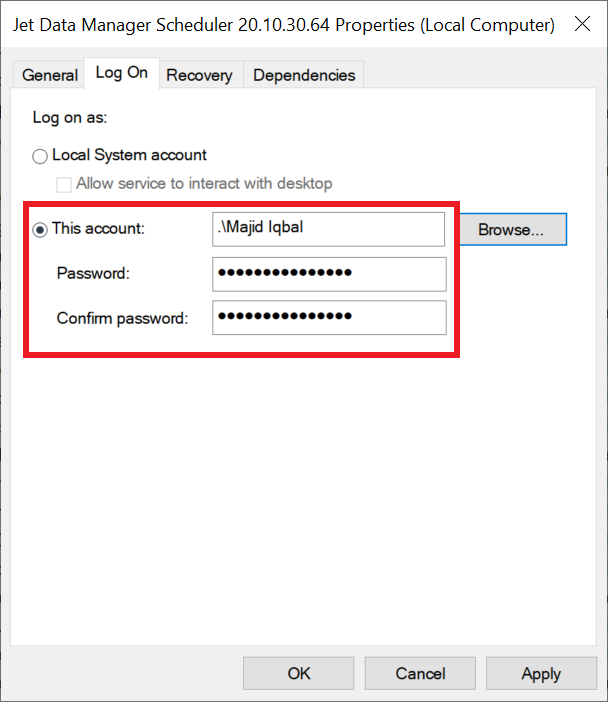
- On the Log On tab, a service account should be used. Click Browse to add an account.
- In the next window select Location and add service account. The service account can be checked from command prompt by typing whoami

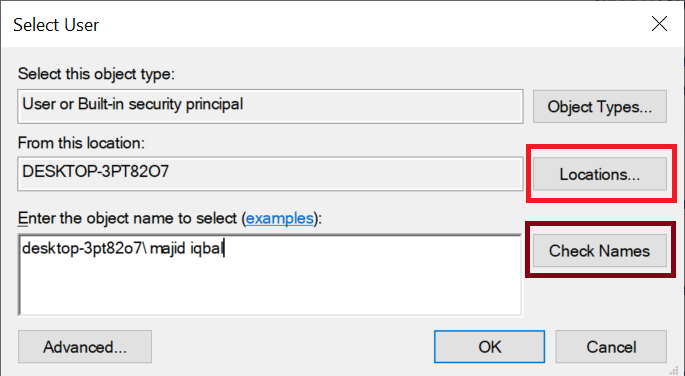
- Service account is added. Now you need to enter your Windows Password.
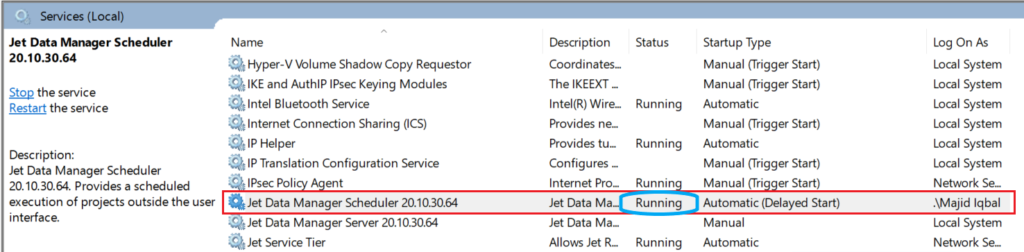
- Right click the Jet Data Manager Server Scheduler service and click Start. The service should start normally.
If you receive a message that the service started and then stopped, the most common cause is that the Jet Data Manager configuration files have not been created for service account that was specified to start the service. The proper solution is to log on to the server using this service account, open the Jet Data Manager, and point to the project repository when prompted. This will create the configuration files required by the service account.
You can now log off and log back on as the original user.
Want to learn what Jet Analytics can do for you: Download this brochure.
With this Jet Analytics installation guide you should now be able to properly start the service. For more details see: Troubleshooting Execution Packages by Insightsoftware.


