Overview
Snippets contain predefined calculations that can be used in projects. This article explains the steps required to download and install them into the Jet Data Manager. You will also see how one would use them within a project and how to view the results.
Download Snippets
1. To download them, go to the insightsoftware download page.
2. Click Download Jet Analytics.
3. Once your download has completed, navigate to the Jet Analytics – REQUIRED folder.
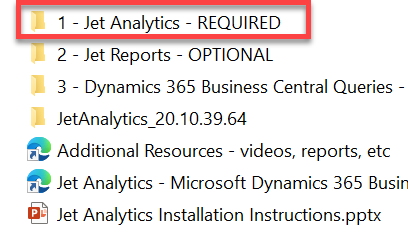
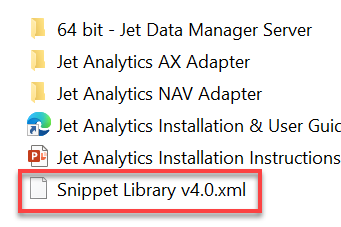
Export the Snippet Library XML to a location on your machine.
Installing Snippets
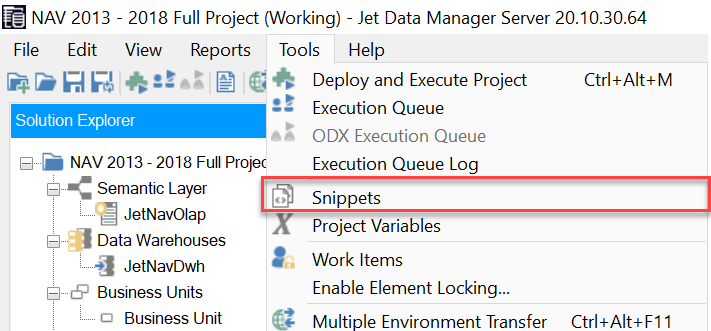
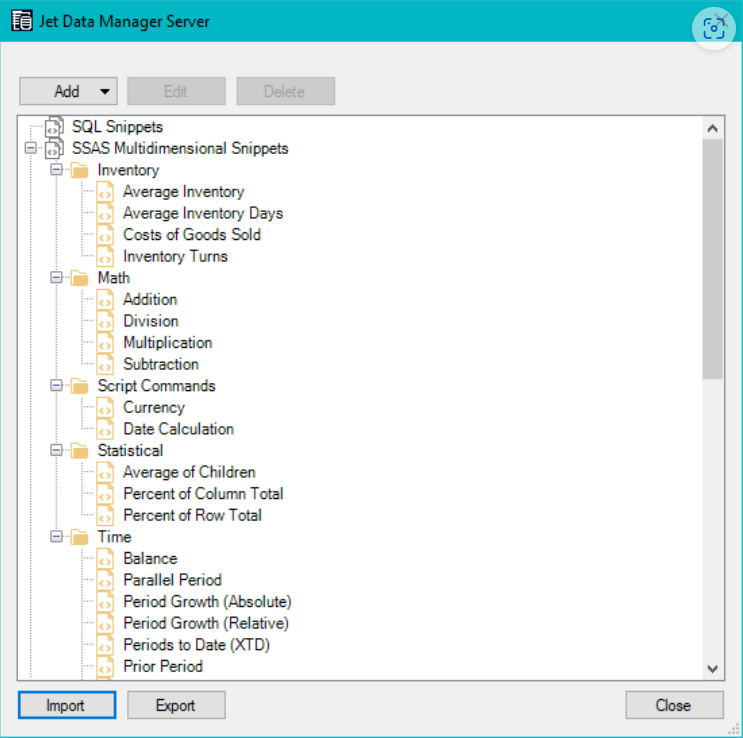
1. Open the Jet Data Manager and Navigate to the Tools Tab → Snippets.
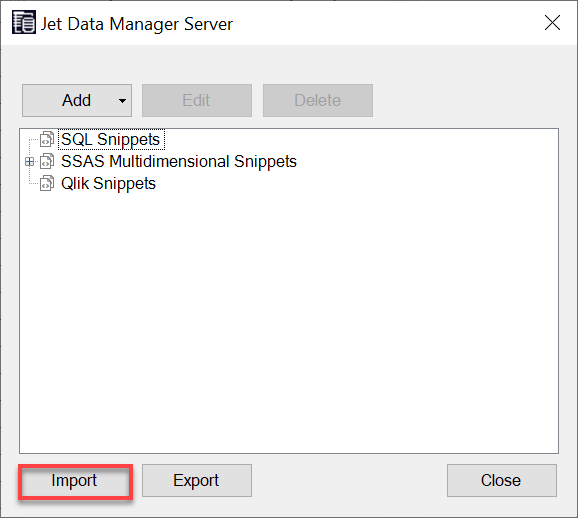
2. In the Server windows, click on the Import in the lower left-hand corner.
3. Locate the Snippet Library XML file and click Open.
4. Locate the Snippet Library XML file and click Open.
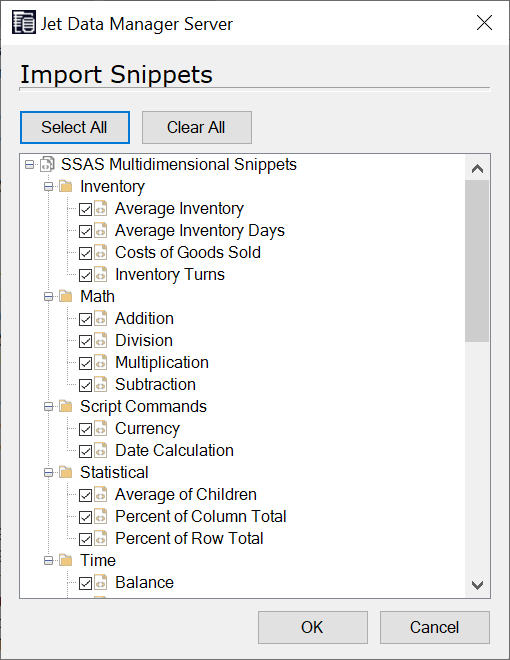
5. Once back at the window, you should see your imported Snippets. Click Close.
👉 Join our Jet Analytics Training and master building data warehouses, cubes, and advanced dashboards.
Using a Snippet
Each Snippet is used differently depending on the application. For example, there are Snippets that calculate percentages, time periods, inventory etc. Particular use of it will depend on the needs and requirements of the business.
In this example we will create a Snippet that returns the sum for a given period.
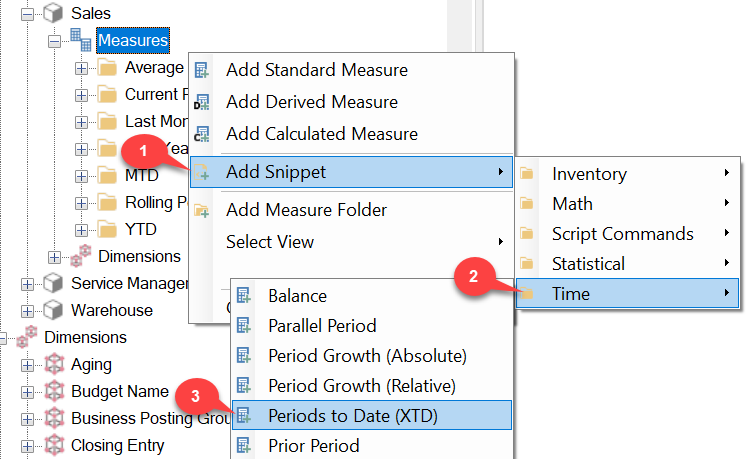
1. In the Cubes tab, navigate to the cube you would like to add your Snippet to → Right Click Measures → Add Snippet → Time → Periods to Date (XTD)
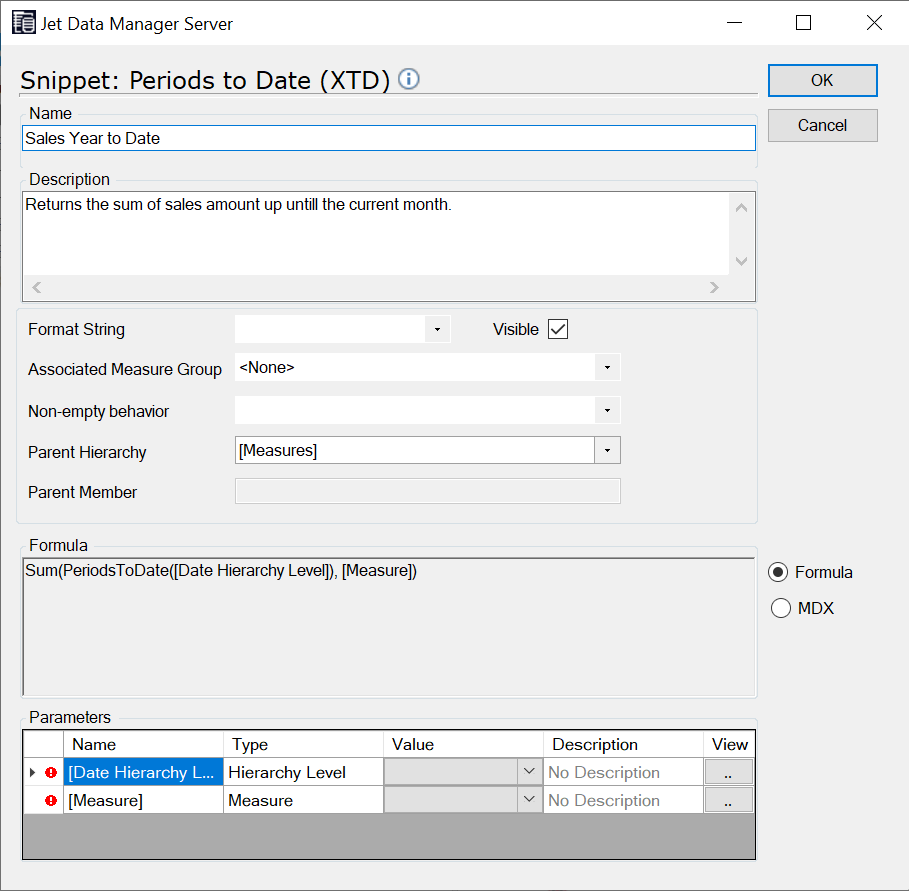
2. The Measure Dialog will open. Provide a name in the Name field.
In the description box you can explain what the business function does.
3) In the Format String field add #,#. This will round to the nearest whole number.

Entering #,#.00 will format your string to add 2 decimals.
4. In the Associated Measure Group choose the measure group that the business function will belong to. In this example we will choose Sales Posted Transactions .

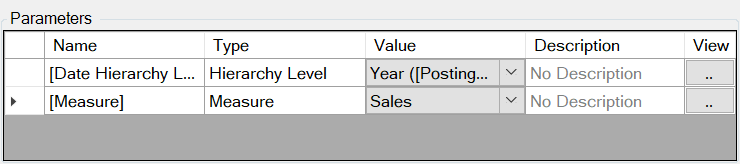
5. In the Parameters section under the Value field select your Hierarchy Level. In this example we will select Year because we want to look at the quantity by month. Next Select your Measure. In this example select Sales. Click OK to save your changes.
6. Deploy and execute your cube to put the changes into effect.
Viewing the Results in Excel
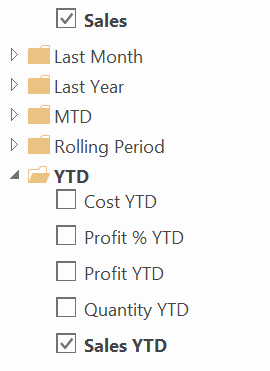
Open a connection to your cube. In this example we will connect to the Sales Cube. Under the Posted Sales Transaction measure group select Sales and Sales YTD.
Next, we will select our dimensions. Select Posting Date.Date YQMD and by Line Type.

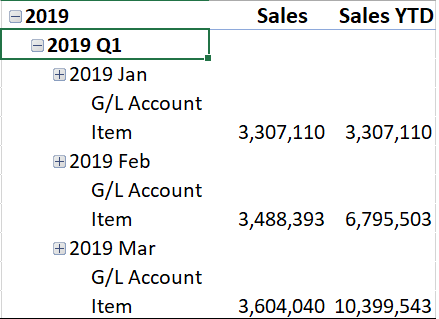
Finally, you can view Sales and Sales YTD by Posting Date and Line Type.
If You Need Any Help, Contact us Now!
[wpforms id=”13267″]


